Tiny monster softies in a jar? I can hear you saying…really? Well, I always love the look of cookies or dried fruits or sweets in a jar…there’s a whole shelf at the back of my kitchen with a colourful line of such jars…which made me think “Well, why not a jar of monster softies?”…of course, I knew all along that the softies might make not like being squished into a jar and they might make a fuss…and that it might be a bit of a business getting them to play along…but, I thought I’d give it a shot and here’s how it worked out:
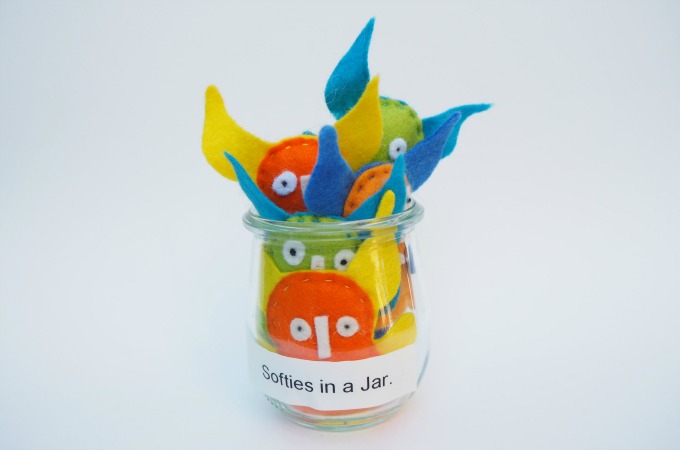
In the end, I think they enjoyed the game…even though they wouldn’t stay put for long…perhaps you’ll have better luck…here’s how to make some of your own teeny tiny softies so you can see if they’re better behaved.
WHAT YOU NEED TO MAKE YOUR OWN TINY MONSTER SOFTIE

15cm X 10cm yellow felt
10cm X 8cm orange felt
Scrap of white felt for eyes, nose and mouth
Needle
Thread
Pin
Polyester fiberfill
Rice grains
Glue
WHAT TO DO
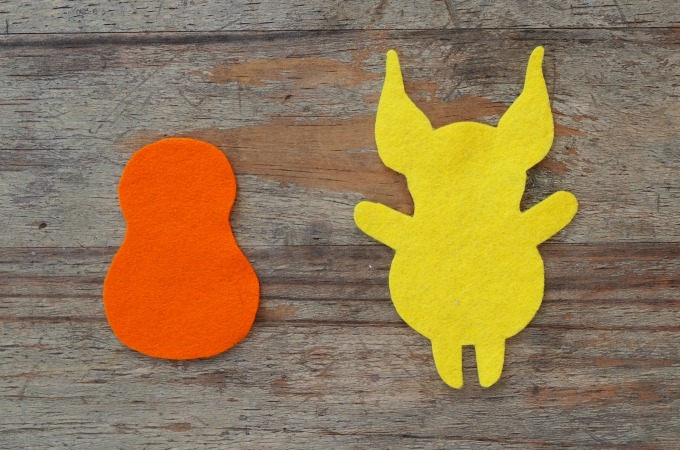
Download and use the templates to cut out the front of your tiny monster softie from the orange felt and the back from the yellow felt.
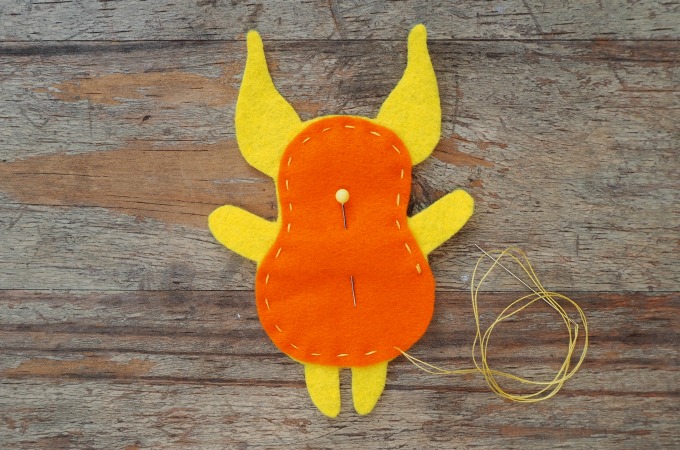
Pin the front and back of the softie together and sew around the body leaving a 3cm gap for stuffing. And here’s a running stitch tutorial.
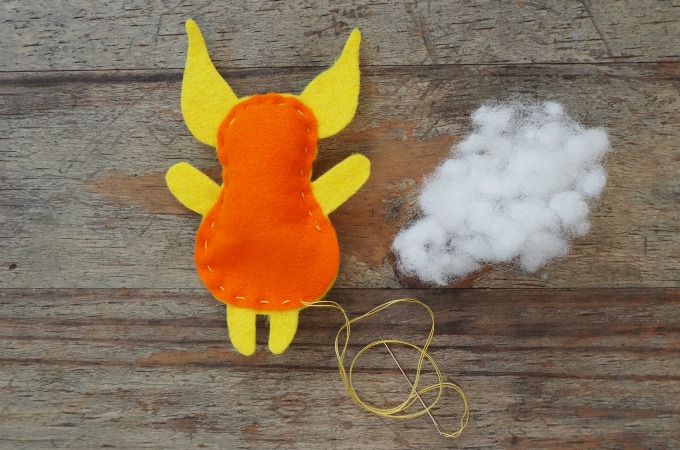
Push a small amount of polyester fibrefill into the top half of his body.
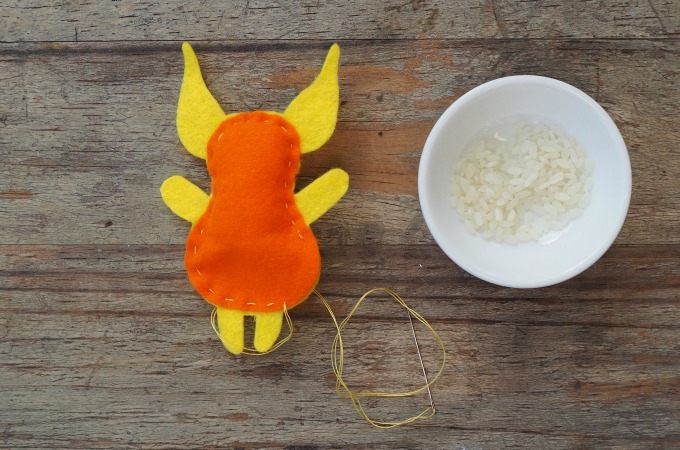
Fill the bottom half of the softie’s body with rice grains. If you prefer, you can use an inorganic granulated weighting material.
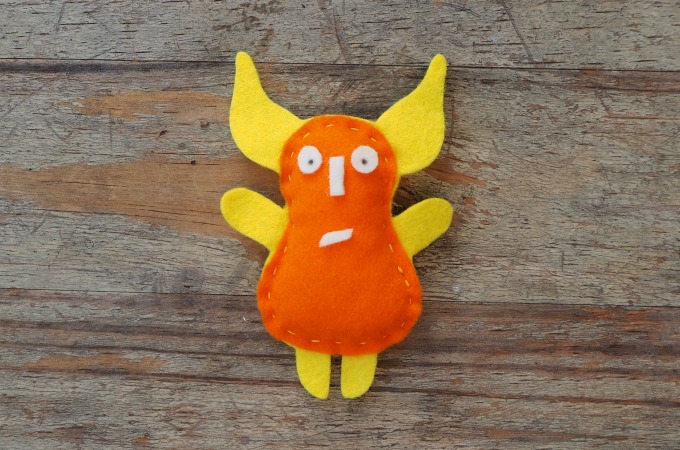
Sew the gap closed. Cut out the eyes, nose and mouth from the white felt and glue them into place. If you want to sew on the facial features, it’s best to do this before you sew the front and back of the softie together. An eye can be very simply sewn into place by using a french knot for the pupil. In the glued version, I’ve made the pupils with a 2B pencil.
A SIMPLE WAY TO PLAY CREATIVELY WITH THIS DESIGN

The little fellow in the middle shows how the facial features can look if you want to sew them on…the other two fellows show how easily you can vary the basic design of the softie from my above tutorial. I decided to alter the shape of the ears because the ears of these softies are relatively big and noticeable…and I’ve given them odd colour patterns…I was thinking of how dogs and other animals often have oddly distributed spots…of course, you can keep things symmetrical and balanced but I like the way the oddness adds to their individuality…and it’s really easy to make your softie so that you can do this:
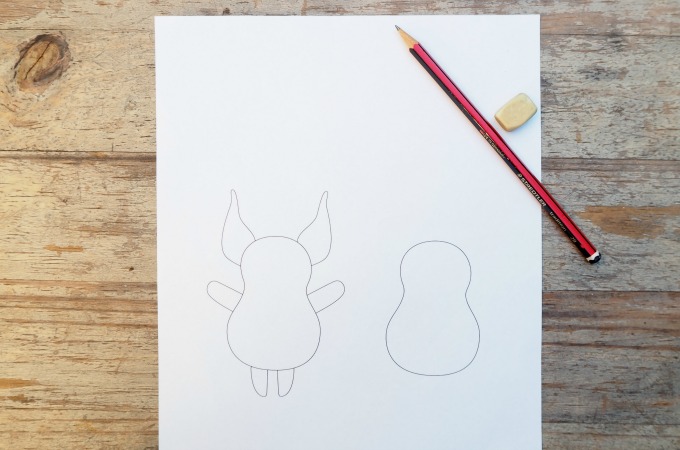 First, print out the templates.
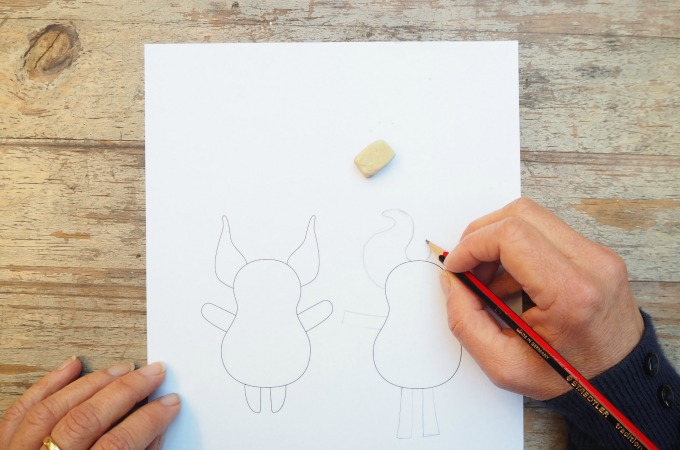
Next, take the gourd-shaped limbless template used for the front of the softie and let your kids draw ears, arms and legs onto this in whatever shapes their imaginations come up with. Cut out their drawing and use it as the template for both the back and front of the softie’s body. Remember to chose different colours for the front and back of the body and make the softie just like the softie in the tutorial above. When you finish sewing and stuffing your softie you can create different colour patterns just by cutting off the top layer of felt on the ears, arms and legs.
Making really little softies was something I just wanted to do…but if your kids are still very young I’d suggest making the template for these little fellows a fair bit larger as this will make it much easier for them to sew… and don’t forget Zenkidu, an easy and fun softie kids will love to make too.
Happy Sew a Softie Month, Trixi

These are so cute. I had my 10 year old granddaughter over this summer on a long weekend to start to learn to sew time. She accomplished a tufted pillow and a nine patch square pillow. I ran across your blog today having been sent here from an old post on sew mama sew for the simple Koala softie. I started looking around and really became excited. Rowen, my granddaughter has a brother 4 years younger and a sister 15 months old. I have found several things that Rowen could accomplish herself for Christmas gifts with very little input from me. Her brother would like the triplet softies. Looking at them they just speak his name. Little Rory Lou is into putting things in something and taking them out again over and over. Thus this pattern or the first one that caught my eye, the koala, or the peanut shaped softie and her blanket as she also loves babies. I have subscribed to your blog and am so excited upon finding you. When I was looking for patterns for something to teach Rowen to sew they were hard to find. Your instructions are easy. I am sure we will be using your site quite a bit over the coming years.
Your comment just made my day 🙂 I was so excited to read it. It’s exactly what writing this blog and designing tutorials is all about for me. Trying to design a project that is simple to make but looks good. Something kids will be proud to show to their friends and family and to show kids how clever they really are and what they can accomplish by themselves. I’m so glad you found my blog!! Your granddaughter is very lucky to have you to teach her to sew.
If your Rowen would like to join into Sew a Softie next year as an ambassador that would be amazing!! Ambassadors join in and teach a friend to sew a softie or host a Sew a Softie party.
Please let me know if you or your granddaughter have any questions!!