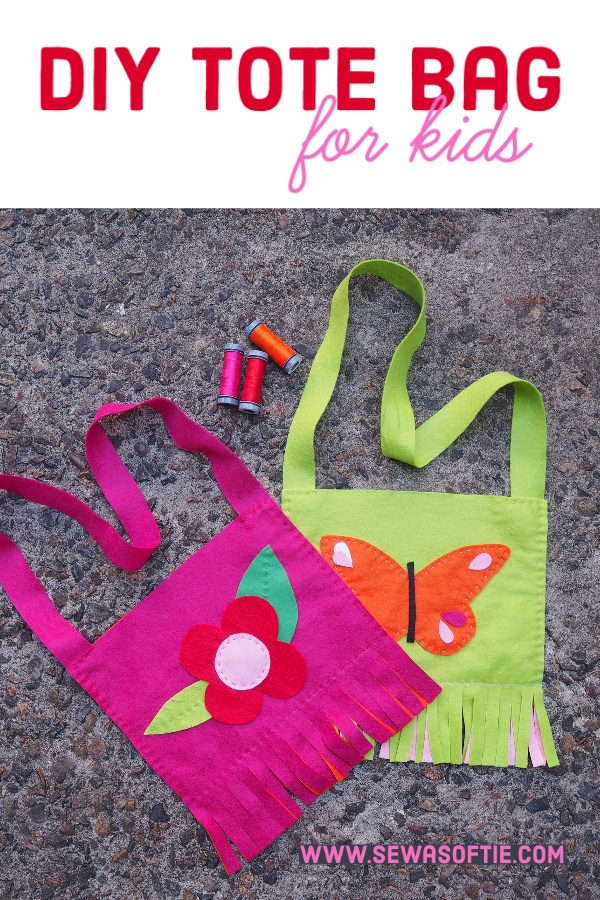
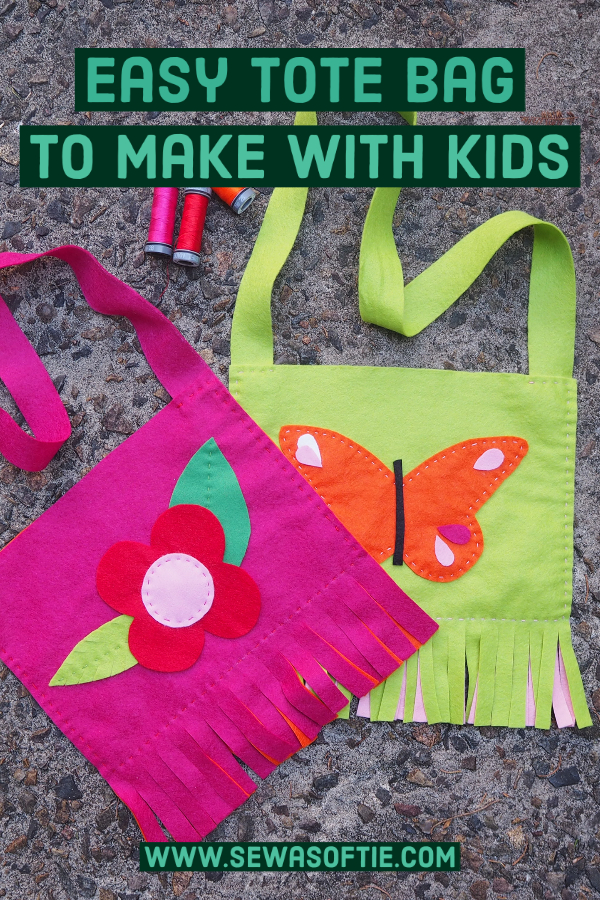
Looking for a super simple felt bag kids can sew? I’ve got you covered!
Kids love bags and totes to carry all their special possessions and when you get to sew your own tote, well, that’s even better. Having a bag to carry my necessities always seemed very important when I was small. So I decided I had to design a simple tote bag for kids to sew for themselves.
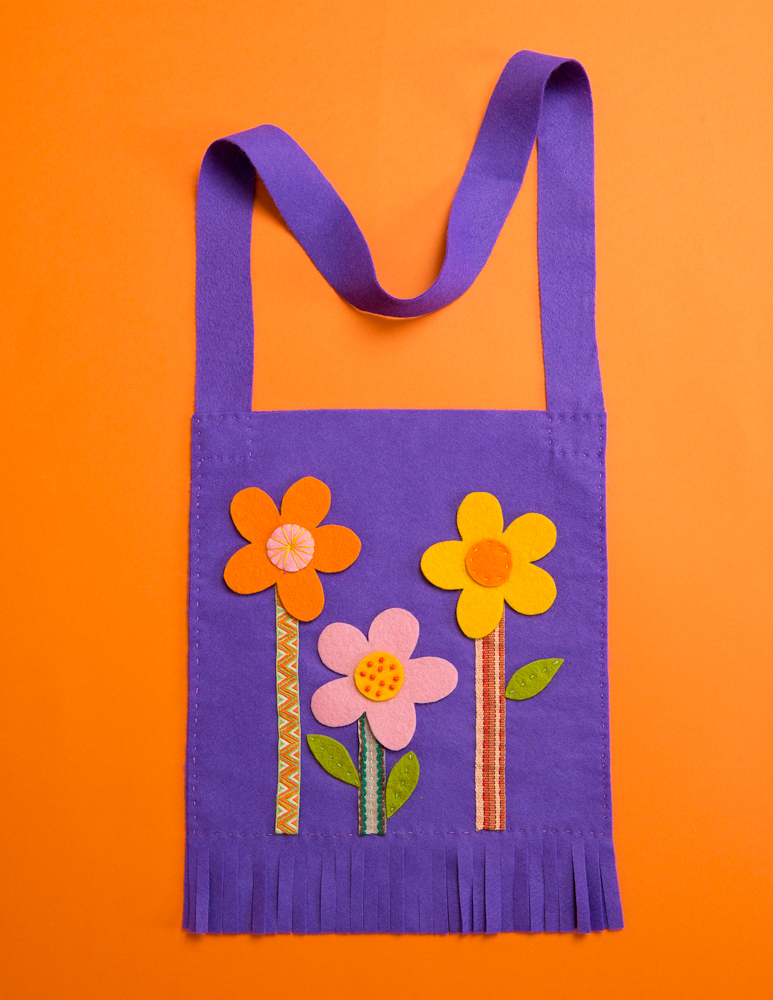
This is a super simple pattern, it’s really just two squares of felt and a strip of felt for the handle. It’s perfect for a beginner sewer and one your kids will absolutely love to make.
The idea for the design of this bag is those hippy bags I remember from the 60’s, bright and colourful, usually with lots of flowers and always fringed!
You can copy my flower design or better still design your own magical flowers. Kids are really good at thinking up amazing magical flowers ideas. But if you’re stuck for ideas just google ‘flowers’ or ‘magical flowers’ and this might help you to get your ideas flowing. Or better still go on a nature walk, collect some flowers and get your kids to copy the flowers to sew onto your bag.
Sew or glue your flowers into place. Add a few pom poms, beads or baubles if you like to glam your tote up. Here’s the tote I designed when I did a workshop at the Art Gallery of NSW in conjunction with their Frida Kahlo exhibition.
So, come on give it a go and make a simple tote bag with your kids and let me know how it goes.
What you need to sew your bag
Two 30cm X 25cm rectangles of purple felt
10cm X 10cm square of yellow, orange and pink felt
80cm X 3cm strip of purple felt
Green felt for leaves
Three ribbons for flower stems
Pins
Thread
What to do
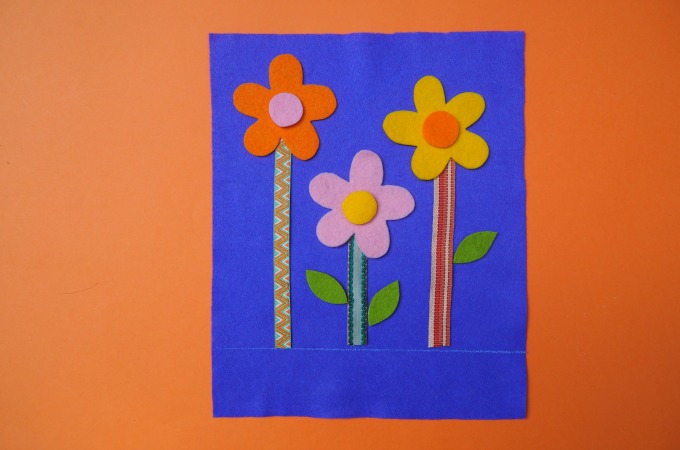
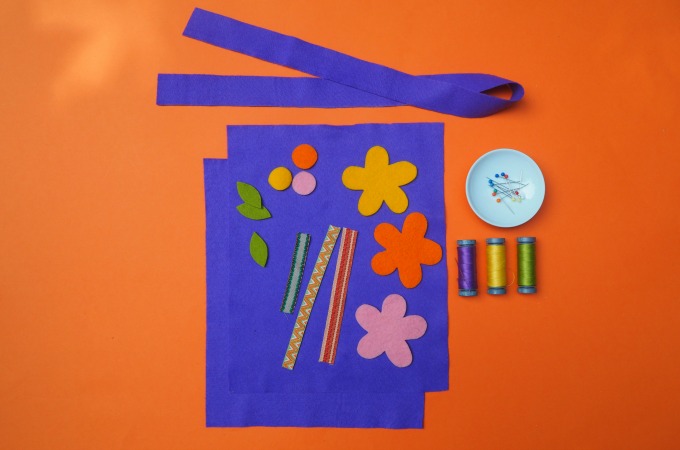 `From the 10cm X 10cm squares, cut out a yellow flower, an orange flower and a pink flower as well as a yellow, orange and pink circles for the flowers’ centres. Cut out some leaves from green felt.
Take one of the 30cm X 25cm purple rectangles and draw a line from one side of the rectangle to the other 5cm up from the base as shown above. This is the sewing line for the bottom of your tote. Position your flowers just above this sewing line…
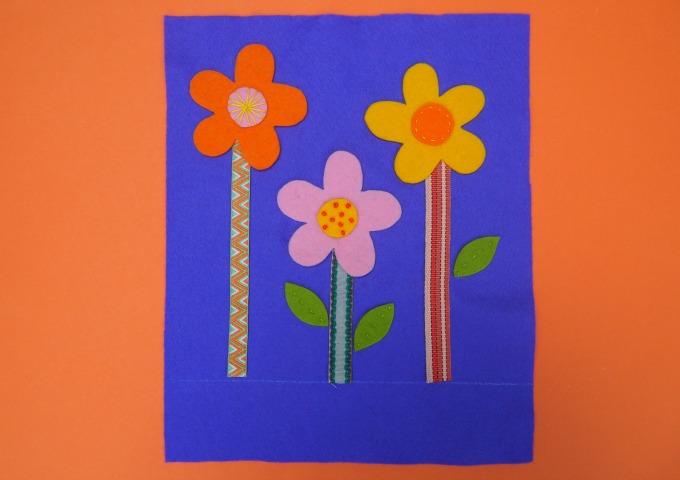
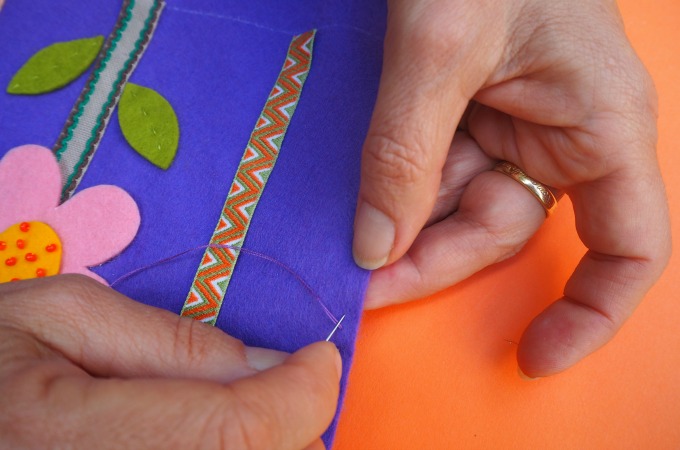
…and pin and sew the flowers into place.
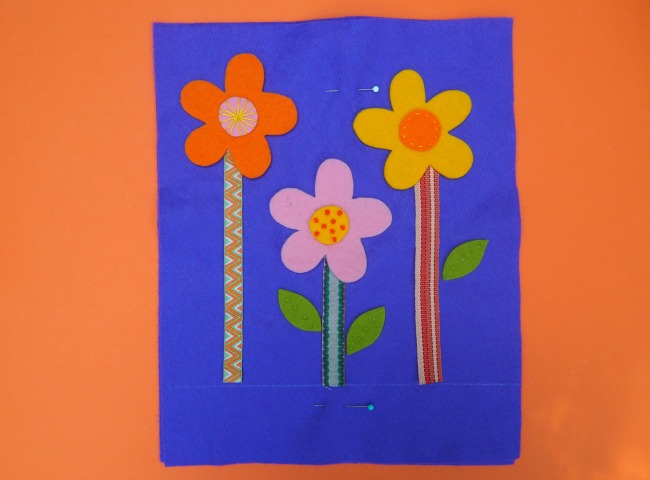
Now pin the purple rectangle with flowers on top of the second 30cm X 25cm rectangle of purple felt.
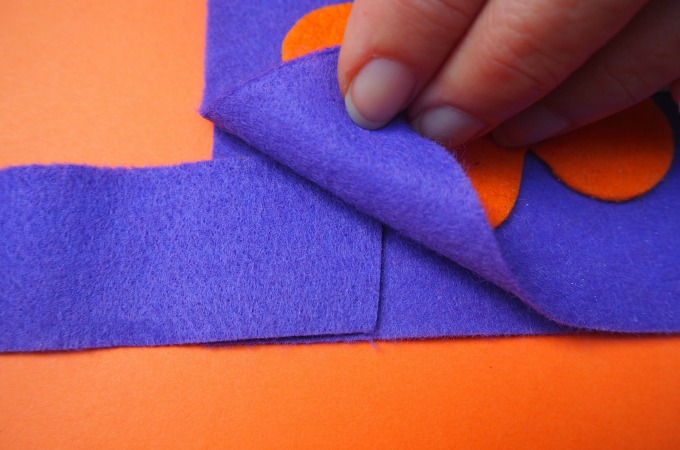
Position the ends of the 80cm X 3cm strip of purple felt between the two sides of the tote as shown above. Pin and sew them firmly into place.
Sew the front and back of the tote together along the sides and bottom.
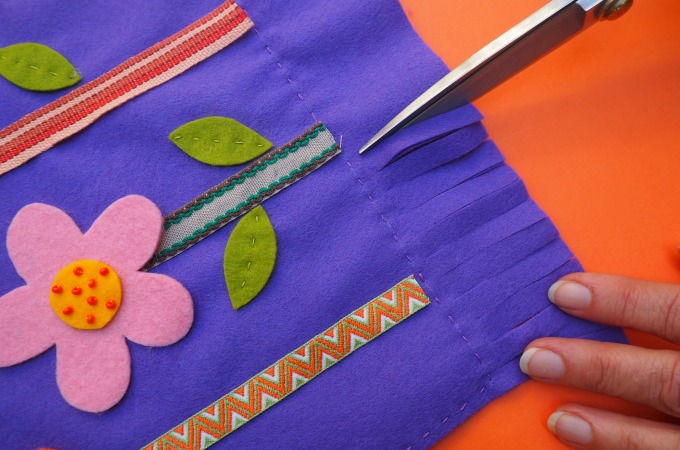
Cut the margin of felt left at the bottom of the tote into fringes.
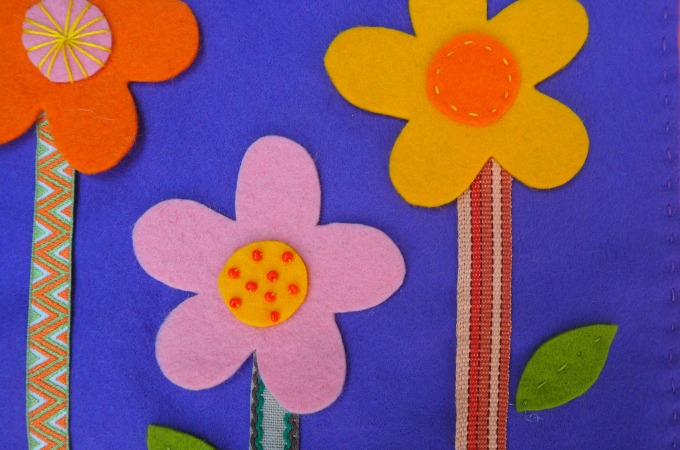
And remember to have lots of fun creating your flowers. I’ve used ribbons with different patterns for the stems and different stitches for the flower centres.
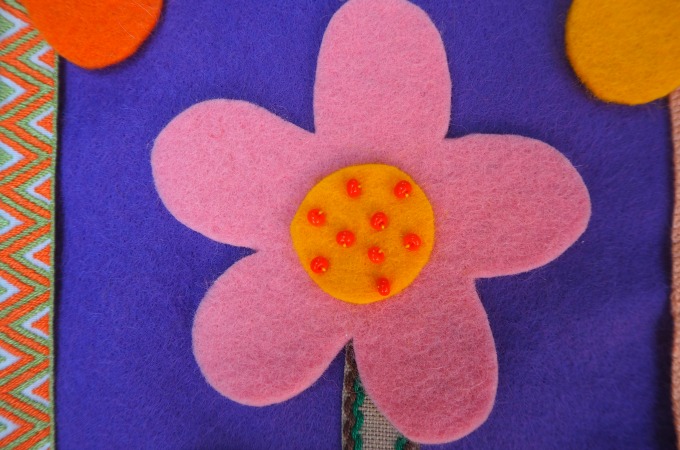
I’ve even sewn some beads onto the centre of one of my flowers.
This simple tote reminds me of spring but if you’d prefer you can try and sew this tote bag that’s more suited to fall or autumn.
Have fun, Trixi

Very cute and simple! 🙂 Lisa
Thanks Lisa 🙂