This post is an updated version of my original 2018 post.
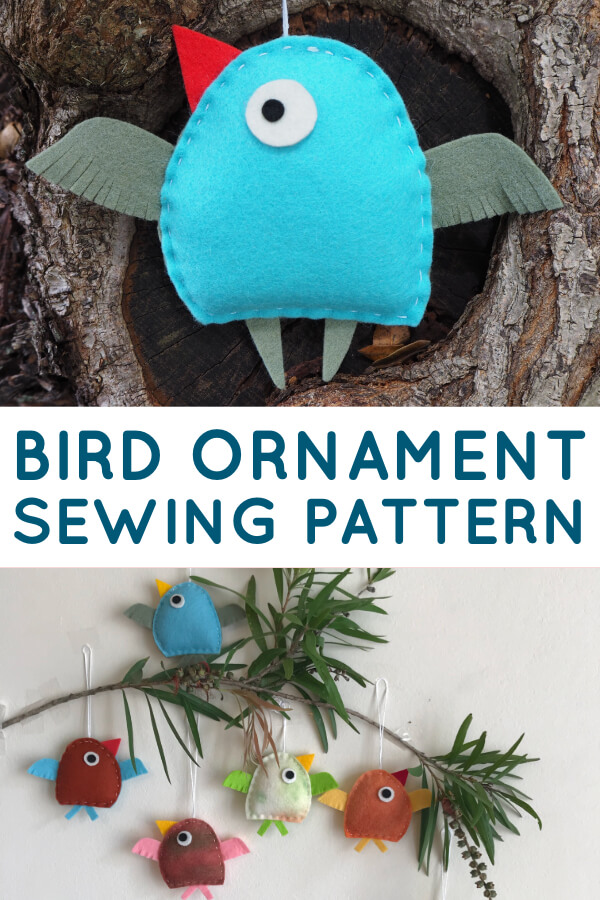
Meet Inga. She’s a simple-to-sew DIY bird ornament to make for your Christmas tree or just to hang around the house wherever you want a little bit of happiness.
She’s also the first tutorial in the 2020 Sew a Softie for the Festive Season tutorial hop.
Find the daily tutorials here.
Inga was originally created in 2018 for Gina at Willowday who invited me to contribute to her Scandinavian Christmas Countdown. I designed Inga to have a Scandinavian look, at least in the colours I used.
The simplicity of her design, however, isn’t due to her Scandinavian ancestry. It’s a zenki thing. Zenkis are the name I give to softies that, like Inga, can be made from just two pieces of felt with no need to insert and pin things like wings and legs (or whatever else) into place.
I created the zenki design about five or six years ago and have been exploring its (seemingly endless) possibilities ever since.
The important thing about zenkis, and therefore about little Inga, is that she is a perfect project to sew with children of any age, even very young children, and for mums, dads and teachers who have never sewn before. She only requires a single line of running stitch around her body and can be made in six simple steps. That’s it. Zenkis really are the simplest friendliest softies around.
Ok, fast forward to 2020 and I get this last-minute idea to host a Sew a Softie for the Festive Season tutorial hop. It sounded fun. I put out the word and soon over 20 Sew a Softie bloggers had joined in.
One problem: I had no idea of what I was going to do but my thoughts went back to Inga. I didn’t want to repeat an old project so I decided to use the original Inga to show you how you can alter and enhance a softie by making a few very simple very minimal changes.
So below is my original tutorial for Inga followed by the New Ingas and how to create them.
Oh, I almost forgot, Inga says she’s never been old!!! I don’t want to leave that out or she’ll be very unhappy with me.
The Original Inga Tutorial
What you need
20cm X 15cm grey felt
12cm X 12cm blue felt
red felt for beak
black felt and white felt for eyes
25cm length of embroidery floss
needle
thread
pins
rice or other weighting material
wool stuffing
glue
What to do
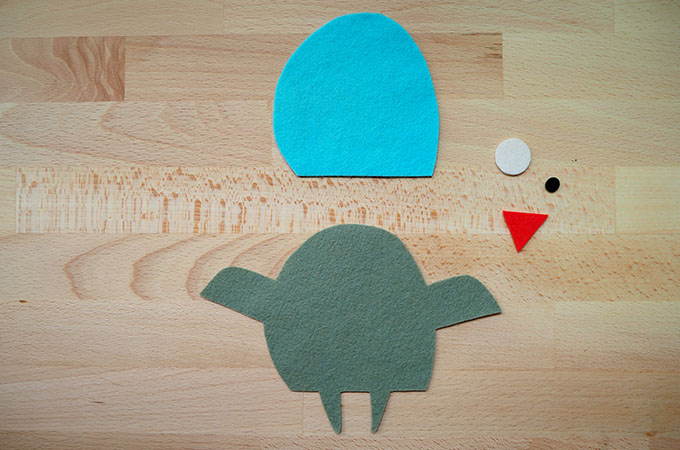
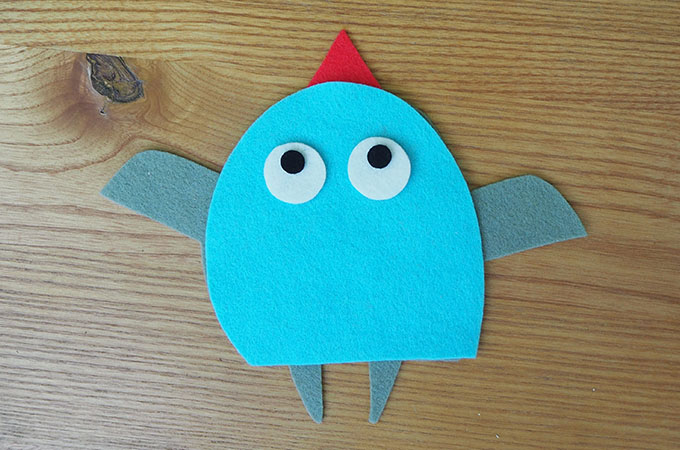
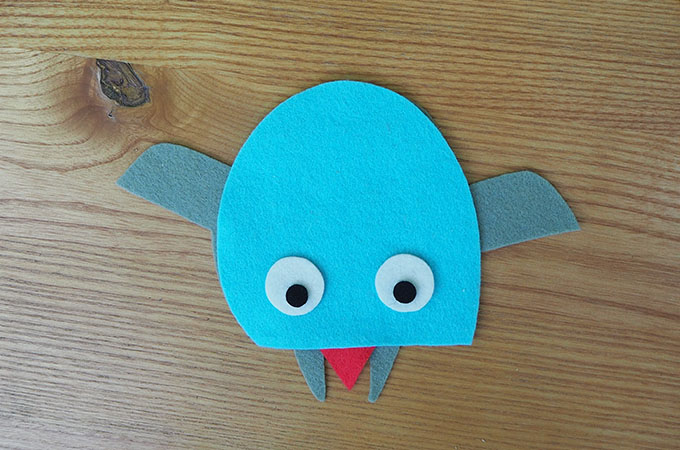
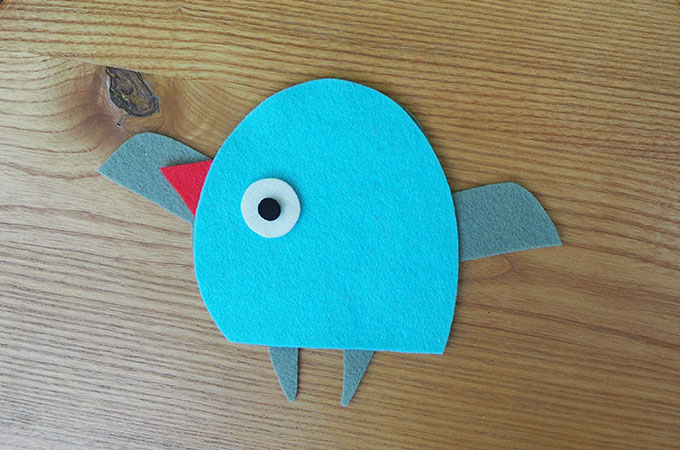
Use the template to cut out the felt shapes for Inga.
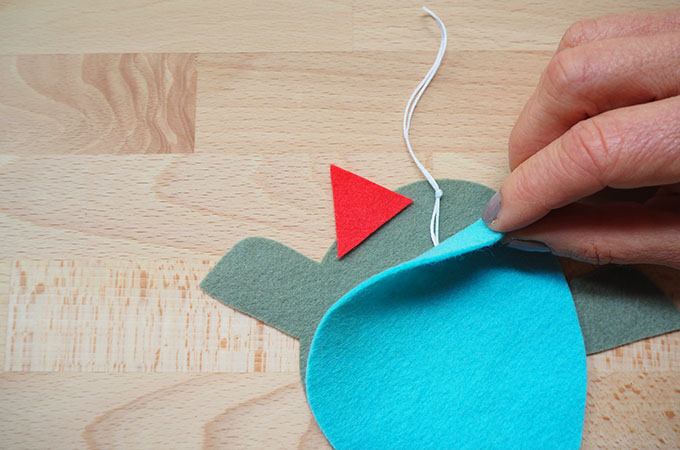
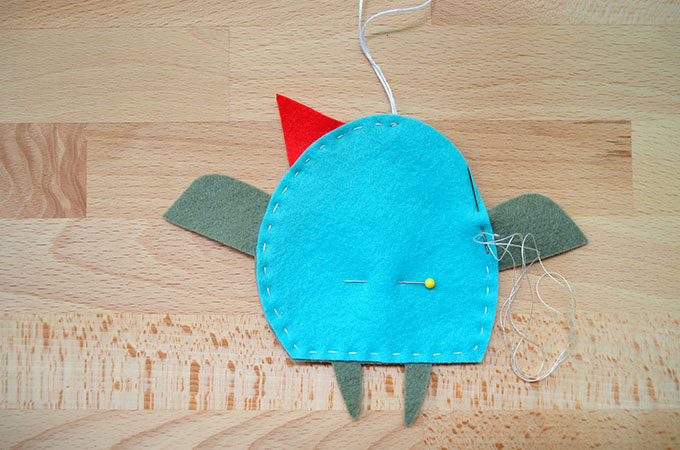
Position the beak between the front and back layers of Inga. Fold the embroidery floss in half, knot to make a loop and place in position at the top of Inga’s head as shown above. I’ve used Aurifloss to make my loop.
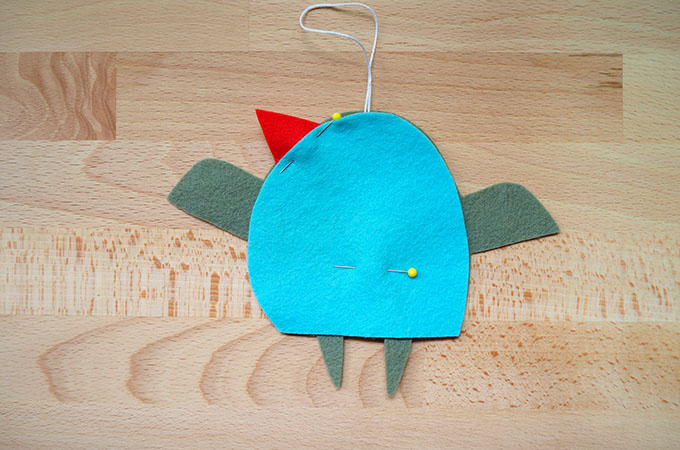
Pin together.
Sew around Inga leaving a gap for stuffing. I use Aurifil Mako 28 for most of my hand sewing projects.
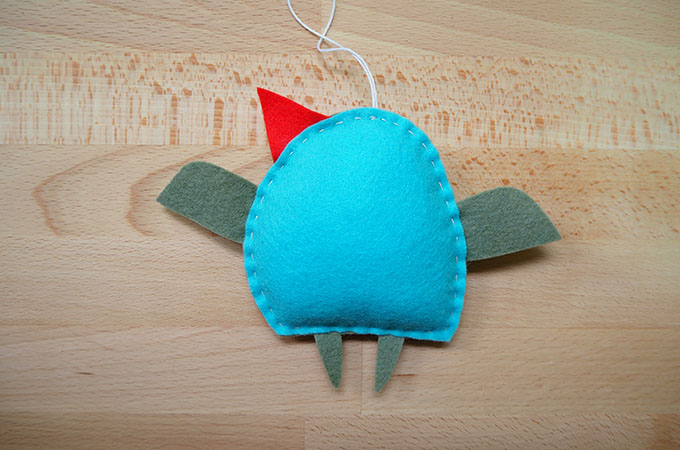
Fill the bottom half of Inga with rice grains or any other granular weighting material. Fill the rest of Inga with wool stuffing. Sew the gap closed.
Lastly, glue on her eye and fringe the bottom of her wings.
The New Inga
As Inga was designed to be a decoration, you might like to make a few Ingas to hang up. You can, of course, make your Ingas all the same or you can just vary their colours. With some very simple innovations, however, you can alter Inga’s appearance quite dramatically.
In the Inga above, I’ve used a fly stitch on Inga’s body to represent her feathers. If you want to learn this simple stitch, go to my fly stitch tutorial.
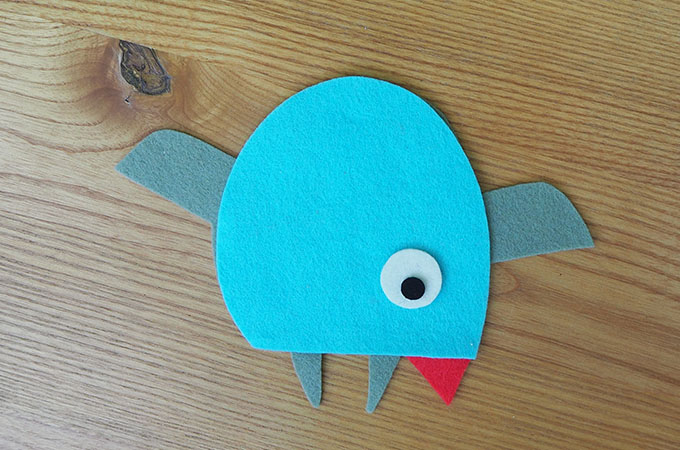
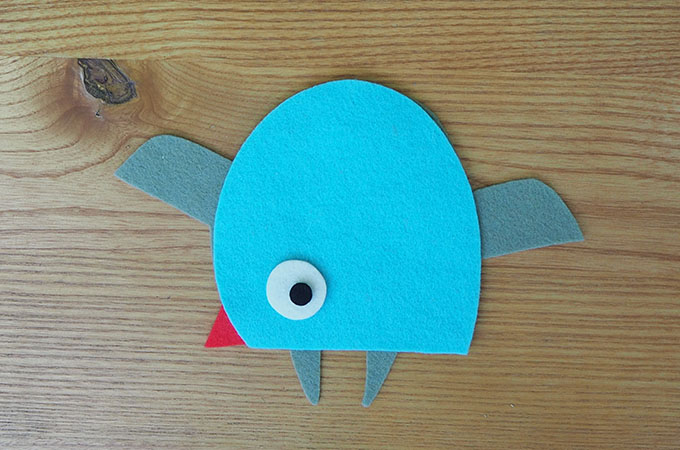
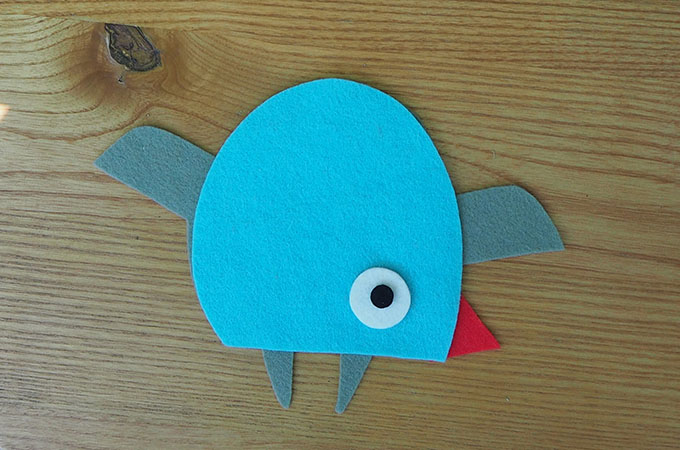
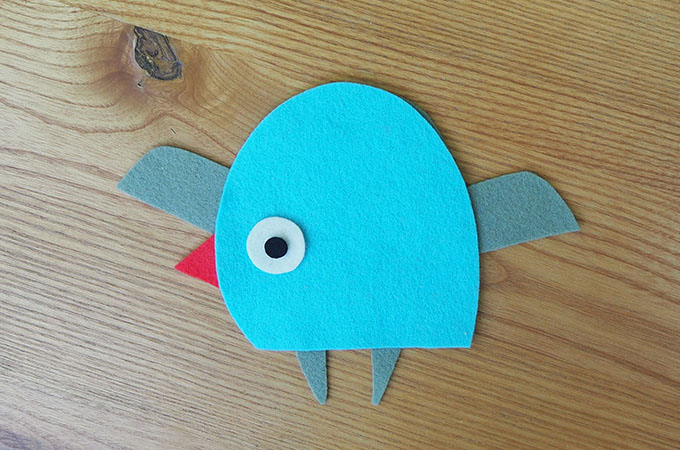
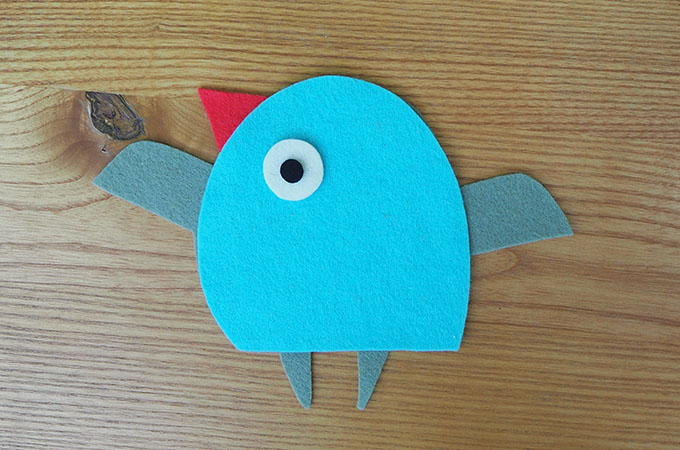
I’ve also moved her beak. By changing the placement of her beak and eyes we can create a whole new range of positions for Inga. This is a really simple way to alter your Ingas, even if you don’t use the fly stitch. I’ve given examples of this in the images below. And remember, if you’re hanging your Ingas up, you’ll also have to change the position of the loop she hangs from.
Inga herself admits that she likes to be shown in different positions. She’s no lazy bones. She’s up at first light and likes to keep busy all day. But however you make your Inga, I think she’ll make you happy. I certainly hope she does.
Happy sewing, Trixi



hi!!! This little bird is lovely!! is there a template?
thanks!
Sofia
Hi Sofia, So glad you like it. I forgot to add the template 🙁 Doing it now 🙂 Trixi