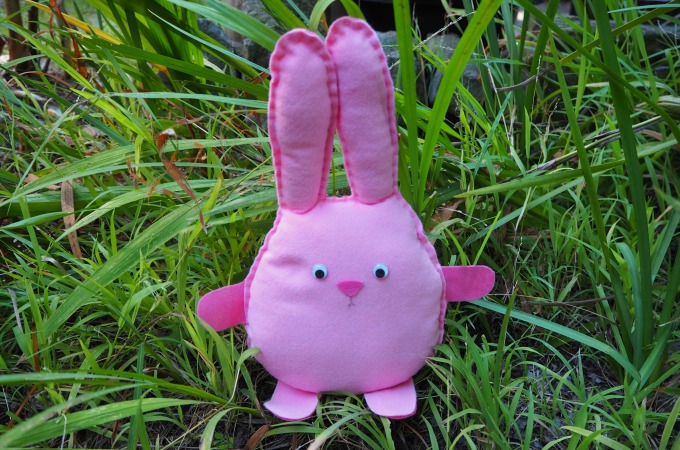
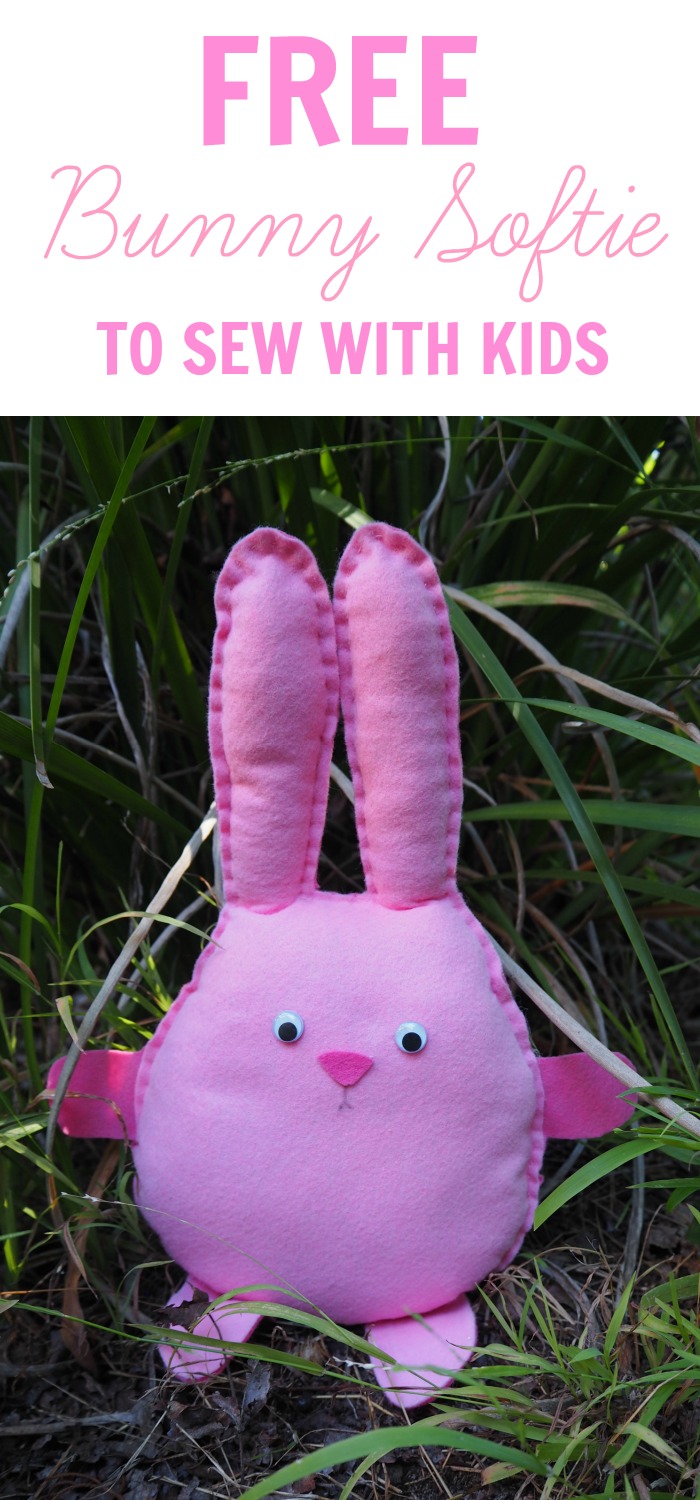
Looking for a free bunny sewing pattern to make with your kids this Easter?
Then you’ve come to the right place. This sweet little felt bunny is so simple and so easy to sew. Your kids are going to love it!
To sew your bunny you’ll need to know how to sew a running stitch and of course I have a running stitch tutorial to show you how. Give it a try and let me know how you go.
If you’re looking for more hand sewing projects I’ve got plenty to keep you and your family busy.
The first thing I ever remember about the Easter bunny is sitting in kindy in a big group of kids, we were all kind of sitting around the piano like they used to do, the teacher would play the piano and we would all sing. Can’t remember what we were singing, but all of a sudden the teacher shouts out “Look the Easter bunny just ran by”, and we all turned around to see him but I was too slow and missed him. It was very disappointing but very exciting.
What You’ll Need to Sew your Stuffed Bunny
12″ x 16″ (32cm x 42cm) light pink felt
12″ x 16″ (32cm x 42cm) dark pink felt
12″ x 16″ (32cm x 42cm) dark pink felt
Needle
Thread
Pins
4B pencil
Polyester fiberfil
4B pencil
Polyester fiberfil
Wiggley eyes
Glue
What To Do
First, download the Bunny template. It’s in two halves so you’ll have to cut around the two shapes and tape them together to make the Bunny’s body.
Place the template of Bunny’s body on the piece of light pink felt. Use the soft 4B pencil (a 5B will also work well) to trace around the template so you have the shape of Bunny’s body on the felt as above.
Pin the two pieces of felt together and sew around Bunny’s body. Leave an opening for stuffing. Remove the pins.
Draw on Bunny’s arms and legs. The dotted outlines of arms and legs on the template can be used as a guide.
Cut off the excess felt from around the arms and legs. Be careful not to cut your sewing.
To suff Bunny, push small amounts of polyester fiberfil into Bunny’s long ears. Make sure you poke your stuffing right up into the top of the ears. You can do this with a chopstick as above…
…or just use your thumbs as I prefer to do…
…and when the ears are firmly stuffed, you can take larger tuffs and keep pushing them into Bunny’s body until they are evenly distributed…
…and Bunny feels soft and spongy. When you’ve finished stuffing, sew the opening closed.
Glue on wiggly eyes. Cut a small nose from the leftover dark pink felt and glue into place. Draw on the tiny mouth.
And if you want, you can cut off the top layer of light pink felt on the arms so that Bunny has two dark pink arms to match his little nose as above.
Finally, glue on a pompom to make the tail and your Easter Bunny’s complete. You can buy a pompom but I made mine…it’s easy to do and loads of fun for kids…here’s a simple tutorial.
And now Bunny’s ready to get up to whatever Easter bunnies get up to.
If you want to sew some more simple to sew Easter projects with our kids you might like this bunny pouch necklace or this simple fillable felt Easter egg.
If you want to sew some more simple to sew Easter projects with our kids you might like this bunny pouch necklace or this simple fillable felt Easter egg.
Happy Easter, Trixi.


Beautiful bunny !!!
Loved the tail pom pom
Such a cute bunny! Love it 🙂
I'm going to try it with my niece, Trixie, she will love it.
Amalia
xo
Thanks for sharing over at the DIY Crush Craft Party. I love this little bunny! We’ve added this to our Pinterest board. Don’t forget to stop by on Thursday to add your tutorials to our next craft party! Your original link on the link up didn’t work, but I found the tutorial!