I’m often asked how I come up with designs for my simple to sew felt softies. Here’s a quick outline of one process I go through.
This post is presented in two separate parts. This week I focus on how I go about creating a shape and I’m using Pengi as my example. Next week I’ll focus on how I go about creating my softies faces and personalities.
PART ONE: CREATING THE SHAPE
Step 1: Do a bit of research
I find images, drawings, other softie designs, etc –anything to give me some visual ideas and hopefully spark off some hints as to how I might want my own softie to look.
Step 2: Take note of anything that captures your attention
I keep in mind whatever strikes me as interesting and forget everything else. I let the interesting stuff work on me, point out directions I might not have thought of by myself and inspire me.
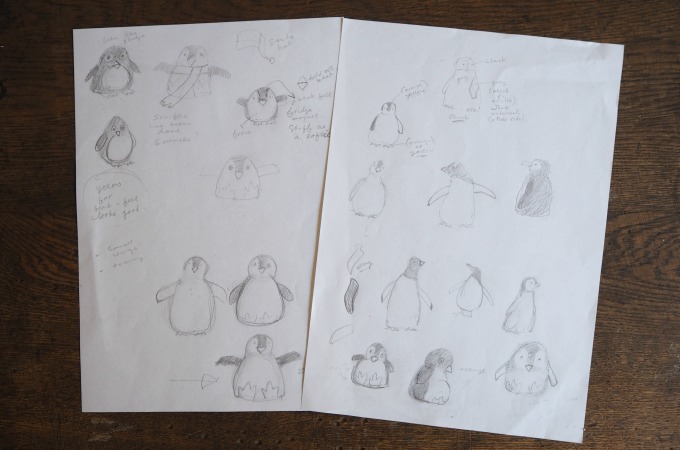
Step 3: Make sketches
I make lots of quick sketches playing with different proportions and combinations of features. You don’t have to be able to draw well. These sketches don’t have to look good. They’re just to help you see something you think might work. I want my softies to be really simple to sew so when I’m drawing I’m not going for realism. I’m thinking of how to come up with a simplified shape and features that suggest the characteristics and/or the personality of what I’m creating.
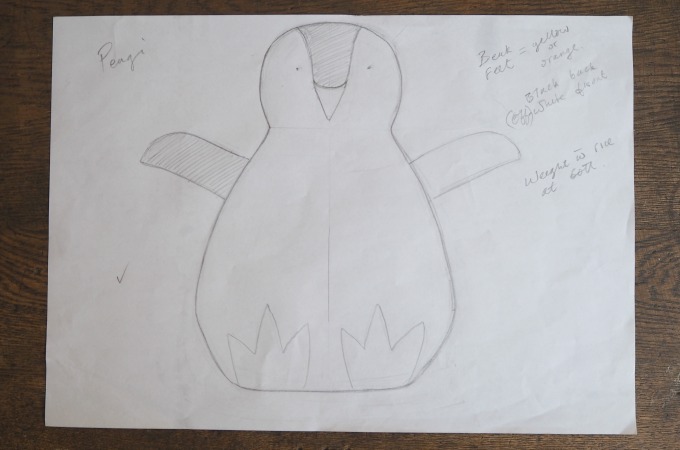
Step 4: Make a template and test it
I draw up the shape I’ve settled on in the actual size I want for the softie and use this to make a trial softie. Moving from the drawn shape to the sewn shape is not always smooth going. Sewing can change the shape a bit so I may have to adjust my template and try again. Sometimes I make half a dozen trials before I’m happy that my template will give the look that I want my softie to have.
Next week I’ll be talking about how I design my softies faces and personalities. Any questions about designing your felt softies? Please ask!
Here’s a video tutorial on making another simple softie called Zenki.


Thank you so much for this post! Looking forward to part 2. 🙂